

A cool wind on a hot summer day is one of the most pleasant things there is. Although we can’t always rely on nature to provide a breeze, an electrical or battery-powered fan works effectively and consistently. Regular cleaning is necessary for all types of fans, including hand-held personal fans, big box fans, oscillating fans, window fans, bladeless fans, and misting fans.
Even with all the air movement, the motor might still pull in debris that could hinder its proper functionality. The blades and frame of the fan may become dusty if it is placed next to a cooking area or an area where spray beauty products are used. But you can maintain your fan functioning properly and keep yourself cool with only a few items and tools you probably already have.

When Should a Fan Be Cleaned?
At the very least, turn off the fan once a week, and look for dust on the blades and housing. The amount of dust in your house or place of work greatly influences how often you should clean your fan. It’s a good idea to clean once or twice every week. Then, a more detailed cleaning should be done at least every three months, especially during high usage.
How to Clean Different Types of Fans
Window, Floor, and Table Fans
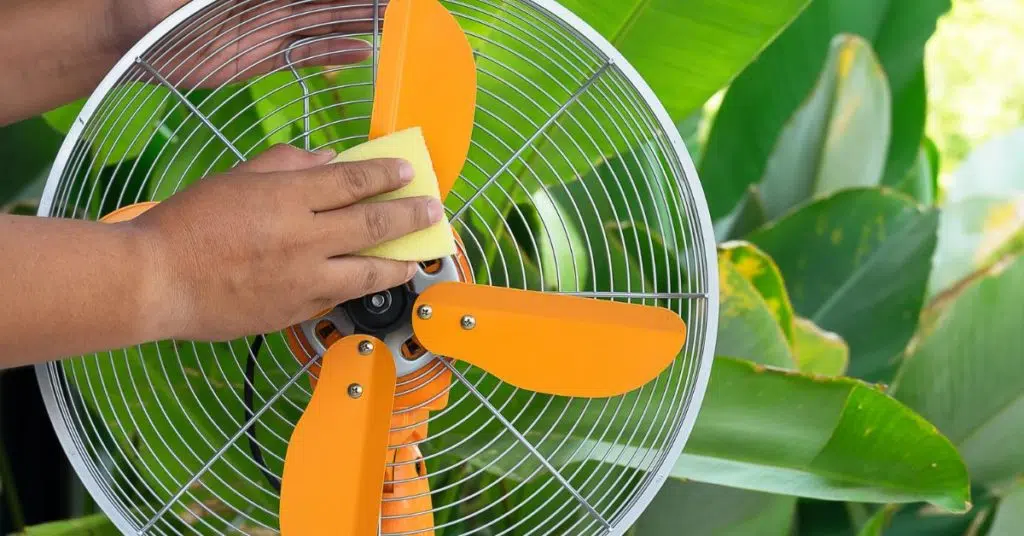
Using a lambswool duster or the brush attachment on your vacuum cleaner, dust the grill on both sides often. Make sure the fan is disconnected before using a hair dryer or a can of compressed air to clean the blades and interior parts. If the grilles are removable, wash them with a hose or submerge them in water once or twice a year. Scrub any dirt off with a brush. Use a cloth sprayed with or soaked in an all-purpose cleanser to clean blades as well as other plastic components.
Whole-house (Attic) Fans
For maximum ventilation, brush and vac the louvers and screens at least once every season. Also, make sure the fan is off because some fans include thermostatic controls.
Ceiling Fans
At least one every season, clean these challenging-to-reach fans. The long-handled, U-shaped brush is a unique tool that is sold at hardware and home improvement stores. Both sides may be cleaned simultaneously since the blade fits in the U’s inside. Use a damp towel and an all-purpose solution to clean both blades and housing two or three times per year. Since wet blades gather dust, make sure to dry completely.
Exhaust Fan
Use a vacuum cleaner brush or just a damp towel to dust them if the fan covers can be detached, clean or replace the filter and gently wipe the blades as well as the other non-electric parts twice a year using a cloth sprayed with or soaked in an all-purpose cleanser.
How to Deep Clean a Fan
Step #1. Turn the power off.
The unit should be turned off. Then, remove the batteries from battery-operated fans and unplug the electrical ones.
Step #2. Disassemble the exterior housing parts.
Loosen the screws securing the wire casing in place using the proper kind of screwdriver. Next, remove the clips that keep the wire mesh in contact with the fan. It’s possible that a large nut holding the rear wire housing to the motor housing must be removed first in order to remove it.
To prevent misplaced screws and other small components, be sure to put them all in a compact container.
Step #3. Remove the blades.
The blade cap on the majority of oscillating fans secures the fan blades onto the motor housing. To remove each blade, unscrew the front cover.
Step #4. Create a cleaning solution.
Mix 2 teaspoons of dish soap with a grease cutter to 3 cups of cold water in a spray container. Shake well to combine.
Step #5. Clean with the DIY cleaning solution.
Put the fan’s blades and wire housing in a large basin or bathtub. Spray the dish soap mixture liberally. Wait a few minutes, so the dish soap has time to cut down the grime. Then, clean every surface with a microfiber cloth.
Step #6. Wash and dry.
Rinse each component well under cool water. Next, dry each part with a dry microfiber towel. The pieces should be air-dry for at least thirty minutes in a bright, windy place. Before putting the fan back together, each component must be completely dry.
Step #7. Clean the remaining fan parts.
Clean the remaining parts of the fan while it is dismantled. Pay close attention to where the blades are attached. Dust that may have become trapped can be removed with a vacuum dust brush.
If your tower or bladeless fan has an air filter, take it out and clean it or replace it.
Step #8. Reassemble your fan.
Start with the last component removed and reconnect it to the motor base, keeping in mind the order in which the fan was dismantled. After a thorough reassembly, there shouldn’t be any little components left over.
How to Clean a Fan Without Disassembling It
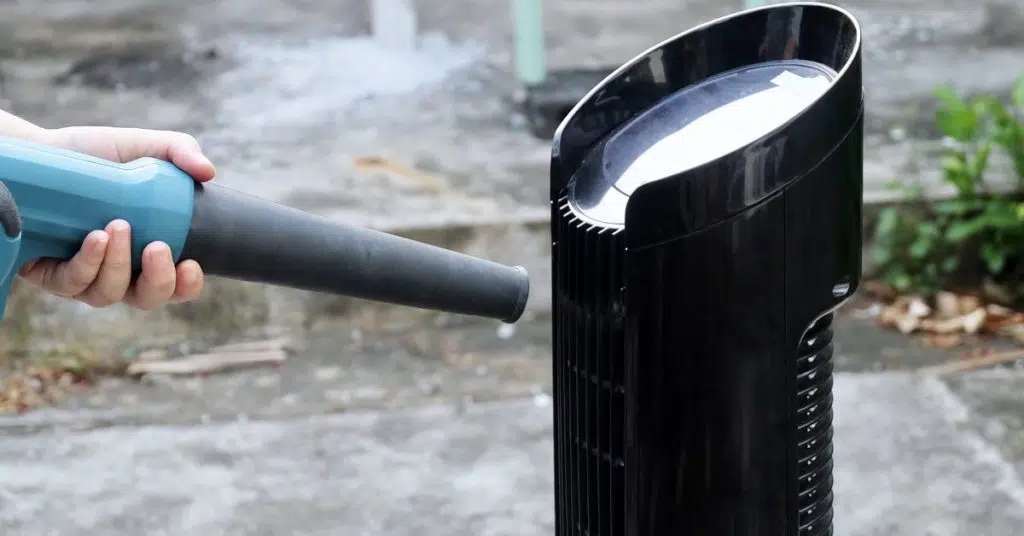
Use a Leaf Blower
It is the most straightforward procedure for having to clean a fan without disassembling it. If you have a blower at home, you may use it to clean pedestal fans, misting fans, tower fans, box fans, and windows. You only need to transfer the fan to an open area (like a patio or basement) without placing any pricey or luxurious furniture there because dust and dirt will come out of the fan and may damage the other furniture. You must either store a fan within the box the manufacturer provided or cover it completely with a constructor plastic bag (that is heavier than a regular plastic bag) after cleaning it with a blower. During the end of the summer and the start of the next season, you can use this procedure to clean fans. It is a great idea to put a fan in a secure location when not in use. If the amount of dust on your fan has collected over a certain point, this procedure will not work.
Use a Clean Sand or Salt
It is a unique way of cleaning your fan. Any loose dust and debris that has clung to the blades of the box fan, window fan, or pedestal fan may easily be removed using this technique. This approach is also super easy and basic. Take a large sheet or piece of paper first. Next, place your fan—whether a box, window, or pedestal fan—on top of it. Both pointing the blade up or down are acceptable. After that, clean sand or salt should be poured, dry, and through the grill. The dust and spills will then be cleaned up when the sand or salt passes through the fan’s blades and onto the paper.
Use an Air Compressor
It is one of the most well-liked and efficient methods for cleaning a fan without disassembling it. As with cleaning a fan with a blower, you need to take the fan to an open area like a patio, carport, or basement when utilizing an air compressor. Grab your air compressor, plug in the power wire, and clean the fan. This technique can clean the fan effectively. To clean the fan blades, use a stick wrapped in a damp towel to remove any remaining dust.
Use a Vacuum Cleaner
You may also use a standard vacuum cleaner to clean a pedestal or table fan. The dust and debris that have accumulated in the fan’s grill may be removed using a vacuum. You only need to place the fan in a safe open area. If you are unable to move it to an open area, such as a patio, you may simply unclip the grill and clean it in the toilet or bathroom.