Cleaning is an essential task that helps maintain a healthy and hygienic living environment. One often overlooked tool in the cleaning arsenal is the humble duster. Whether it’s used for dusting furniture, blinds, or delicate ornaments, a clean duster is crucial for effective cleaning. In this comprehensive guide, we’ll walk you through the step-by-step process of how to clean a duster, ensuring it remains an efficient tool in your cleaning routine.
Different Types of Dusters
When it comes to keeping your home clean and dust-free, having the right duster for the job is essential. Here’s a detailed look at the various types of dusters available on the market:
1. Feather Dusters
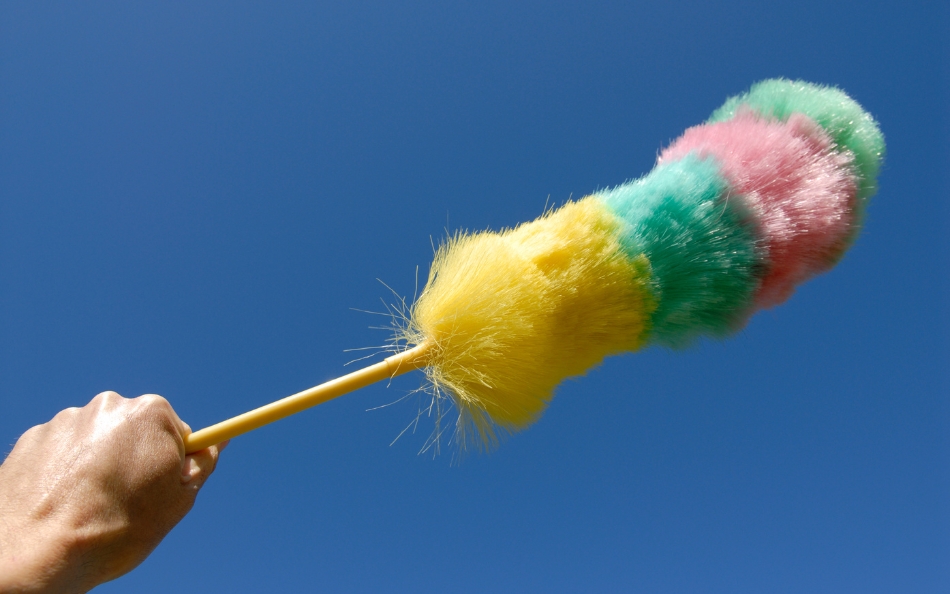
Feather dusters, often made with ostrich feathers or synthetic materials designed to mimic feathers, are known for their ability to attract and trap dust particles. They are gentle on delicate surfaces and ideal for dusting furniture, shelves, and decorative items.
2. Microfiber Dusters
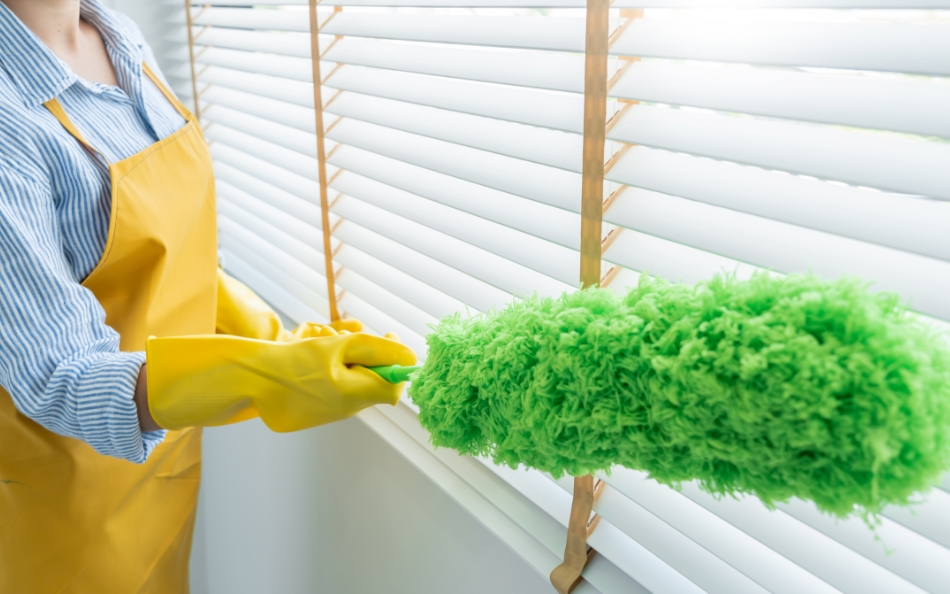
Microfiber dusters are made from ultra-fine synthetic fibers that are highly effective at trapping dust and allergens. These dusters are designed to be used dry or slightly dampened and can be washed and reused multiple times, making them an eco-friendly option.
3. Static Dusters
Static dusters, also known as electrostatic dusters, use static electricity to attract and hold dust particles. They are effective at picking up dust from hard-to-reach areas, such as ceiling fans, light fixtures, and window sills. Static dusters are reusable and can be washed when dirty.
4. Lambswool Dusters
Lambswool dusters, made from natural lambswool fibers, are prized for their softness and ability to attract dust without scratching surfaces. These dusters are gentle enough for use on delicate items like glassware and antiques, making them a favorite among collectors and homeowners alike.
5. Extendable Dusters
Extendable dusters feature a telescopic handle that can be adjusted to reach high or awkward spaces with ease. These dusters are ideal for cleaning ceiling fans, light fixtures, and tall furniture without the need for a step stool or ladder. They often come with interchangeable heads, allowing you to switch between different types of dusters depending on the cleaning task at hand.
6. Disposable Dusters
Disposable dusters, such as those with disposable electrostatic cloths or pre-treated dusting pads, offer convenience and ease of use. These dusters are designed for one-time use and are ideal for quick touch-ups or cleaning hard-to-reach areas.
Cleaning Agents To Use When Cleaning A Duster
To maintain the effectiveness of your duster, it’s crucial to clean it regularly. Here are some suitable cleaning agents to use when cleaning different types of dusters:
1. Water
For many dusters, especially those made of microfiber or synthetic materials, water alone can be sufficient for cleaning. Simply rinse the duster under lukewarm water, gently squeezing to remove dirt and debris. Allow it to air dry thoroughly before using it again.
2. Mild Detergent
For dusters that require a deeper clean, such as those heavily soiled or used with oily surfaces, a mild detergent can be added to the cleaning process. Use a small amount of mild detergent diluted in lukewarm water to hand wash the duster. Rinse thoroughly and air dry.
3. Dish Soap
Dish soap is an effective option for cleaning dusters, particularly those used in the kitchen or for heavy-duty cleaning tasks. Mix a small amount of dish soap with water, then soak the duster and gently agitate to remove dirt and grease. Rinse thoroughly and allow it to air dry completely.
4. Vinegar Solution
Cleaning using vinegar is a natural and eco-friendly cleaning alternative that can help disinfect and deodorize dusters. Mix equal parts of vinegar and water in a basin or sink, then soak the duster for a few minutes. Rinse well with clean water and air dry.
5. Baking Soda
Baking soda is a natural cleaning agent that can help remove odors and lift stubborn stains from dusters. Sprinkle baking soda onto the duster, then gently rub and massage the fibers to distribute the baking soda evenly. Allow it to sit for a few hours or overnight, then shake off the baking soda and rinse the duster thoroughly before drying.
6. Laundry Detergent
For machine-washable dusters, such as those made of microfiber or cotton, you can use a mild laundry detergent to clean them. Place the duster in the washing machine with a small amount of detergent and wash on a gentle cycle with cold water. Air dry or tumble dry on low heat.
DIY Cleaner Recipes for Cleaning Your Duster
Here are some effective DIY cleaner for cleaning your duster:
1. Vinegar and Water Solution
- Mix equal parts white vinegar and lukewarm water in a bowl or spray bottle.
- For example, combine 1 cup of white vinegar with 1 cup of water.
- Shake or stir the solution well to ensure thorough mixing.
- Submerge the duster in the solution or spray it generously until damp.
- Gently squeeze or agitate the duster to remove dirt and grime.
- Rinse the duster with clean water and air dry completely before use.
2. Baking Soda and Water Paste
- In a small bowl, combine 1 tablespoon of baking soda with enough water to form a thick paste.
- Adjust the amount of water as needed until the desired consistency is achieved.
- Apply the paste to the soiled areas of the duster, focusing on stains or odors.
- Gently rub the paste into the fibers using your fingers or a soft brush.
- Allow the paste to sit for 15-30 minutes to penetrate and lift dirt and grime.
- Rinse the duster thoroughly with clean water and air dry completely.
3. Lemon Juice and Olive Oil Mixture
- In a bowl, mix 1 tablespoon of lemon juice with 1 tablespoon of olive oil.
- Stir the mixture well to combine the ingredients.
- Apply the mixture to the duster using a soft cloth or sponge, focusing on any sticky residue or buildup.
- Allow the mixture to penetrate the fibers for a few minutes.
- Gently scrub the duster with a soft brush or cloth to remove dirt and grime.
- Rinse the duster thoroughly with clean water and air dry completely before use.
4. Castile Soap Solution
- Dilute 1-2 tablespoons of liquid castile soap in a basin or sink filled with warm water.
- Stir the solution well to ensure the soap is evenly distributed.
- Submerge the duster in the soapy water and gently agitate to loosen dirt and debris.
- Allow the duster to soak for 10-15 minutes to ensure thorough cleaning.
- Rinse the duster with clean water to remove all soap residue.
- Air dry the duster completely before using it again.
Step-by-Step Process on How to Clean a Duster
- Take the duster outside or to a well-ventilated area and vigorously shake it to dislodge loose debris.
- Use a vacuum cleaner with a soft brush attachment to gently vacuum the duster, focusing on areas where dust accumulates.
- Submerge the duster in lukewarm water with mild detergent, or into your DIY cleaner, agitating it gently to loosen dirt and grime.
- Remove the duster from the soapy water and rinse it under running water until all detergent is removed.
- Lay the duster flat on a clean towel or hang it to air dry completely.
- Once dry, store the duster in a clean, dry place away from dust and moisture to maintain its effectiveness.
Common Cleaning Mistakes to Avoid
- Neglecting to clean your duster on a regular basis can lead to a buildup of dust and debris, reducing its effectiveness over time. Make it a habit to clean your duster after each use or at least once a week to maintain optimal performance.
- Avoid using harsh chemicals when cleaning your duster, as they can damage the delicate fibers and reduce its lifespan. Stick to mild detergents or natural cleaning solutions to preserve the integrity of your duster.
- Before cleaning your duster, it’s important to give it a good shake outdoors to dislodge any loose dirt and debris. Skipping this step can result in spreading dust around your home instead of removing it.
- When cleaning your duster, don’t forget to target hard-to-reach areas such as crevices, corners, and edges. Use a smaller cleaning tool or attachment to ensure thorough cleaning in these areas.
- After cleaning your duster, ensure that it is completely dry before using it again. Damp or wet dusters can attract more dust and dirt, undoing all your cleaning efforts.
- Always refer to the manufacturer’s guidelines before cleaning your duster to avoid damaging it unintentionally.
Cleaning a duster may seem like a simple task, but it plays a vital role in maintaining a clean and healthy home. By following these step-by-step instructions, you can ensure your duster remains an effective tool in your cleaning arsenal for years to come. Remember to clean your duster regularly to maximize its performance and keep your living space free from dust and allergens.


