

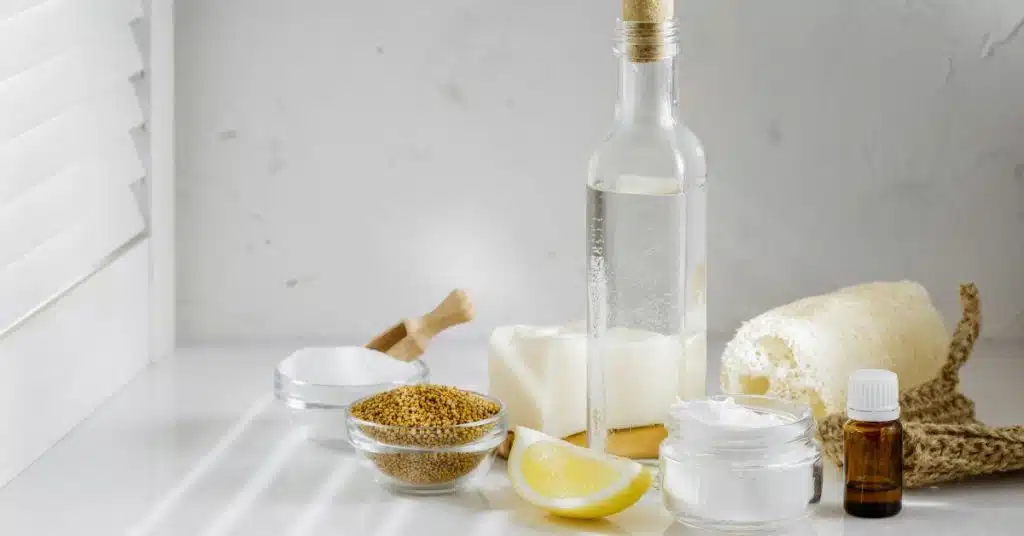
Keeping a clean and tidy house is essential for our health and well-being, but constantly purchasing cleaning products can be time-consuming and expensive. Fortunately, there are many natural and cost-effective ways to clean your home using common household items. From using vinegar to clean glass surfaces to using lemon juice to clean stainless steel, these cleaning hacks are effective and environmentally friendly. This article will discuss the ten best budget-friendly cleaning hacks to help you maintain a clean and healthy home without breaking the bank. Whether you’re looking to clean your kitchen appliances, bathroom fixtures, or other household items, these tips and tricks will make cleaning a breeze. So, let’s get started and discover how to use everyday items to keep your home clean and sparkling.
Budget-Friendly Cleaning #1: Use Baking Soda to Clean Kitchen Appliances
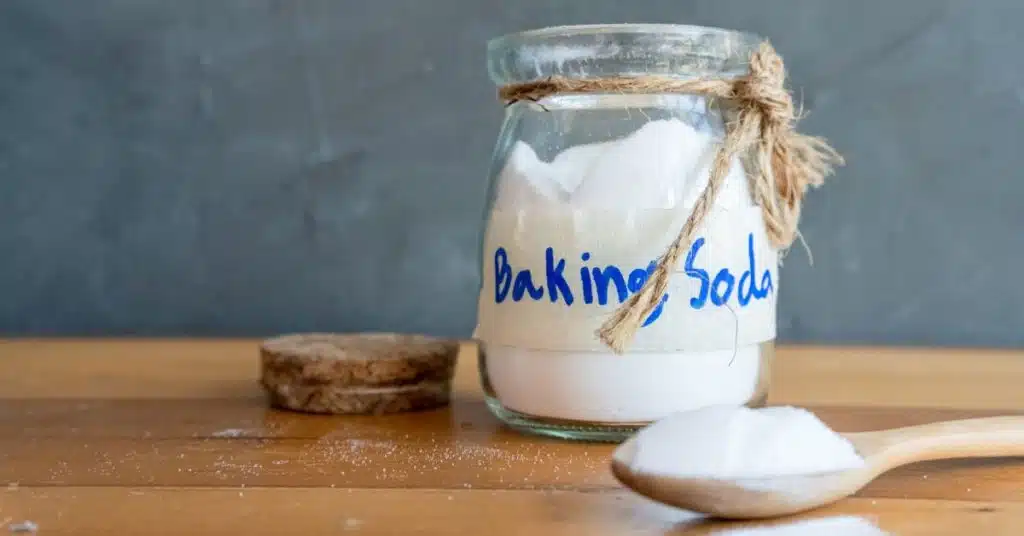
Baking soda, or sodium bicarbonate, is a versatile and natural cleaning agent used to clean kitchen appliances effectively. Here are some steps to clean various kitchen appliances using baking soda:
- Oven: Start by removing the racks from the oven. Mix baking soda with water to create a paste. Apply the paste to the oven’s interior, avoiding the heating elements. Let it sit for at least 15 minutes or overnight for tougher stains. Then, wipe away the paste using a damp cloth. For stubborn stains, use a scrub brush to remove them.
- Microwave: Mix 1/4 cup of baking soda with a few tablespoons of water to make a paste in a microwave-safe bowl. Apply the paste to the interior of the microwave and let it sit for 5-10 minutes. Then, wipe away the paste using a damp cloth.
- Refrigerator: Mix 1/4 cup of baking soda with 1 quart warm water. Dip a clean cloth into the solution and use it to wipe down the fridge’s interior. This will help to remove any stains or odors.
- Dishwasher: Sprinkle a generous amount of baking soda on the bottom of your dishwasher, then run a hot cycle. This will help remove any odors and clean the dishwasher’s interior.
- Coffee maker: Fill the coffee maker’s reservoir with 1/4 cup of baking soda and 1 quart of warm water. Run the coffee maker through a cycle as if you were brewing coffee. Then, run a cycle with just water to rinse out any remaining baking soda.
Budget-Friendly Cleaning #2:
Use Vinegar to Clean Glass Surfaces
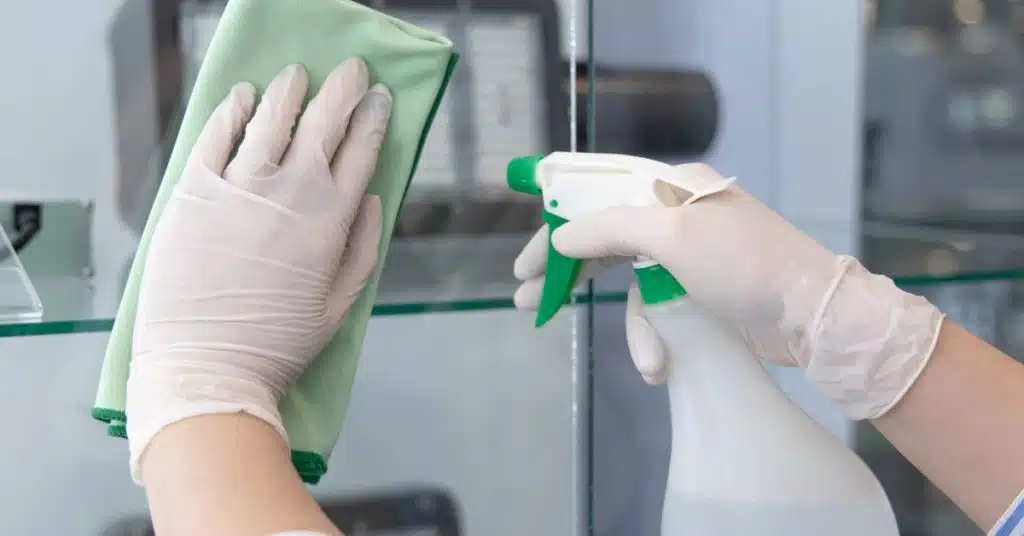
Vinegar is another budget-friendly cleaning agent that can help you keep your glass surfaces looking shiny and new. It is an effective cleaning agent because it contains acetic acid, which helps to dissolve and loosen dirt, grime, and grease. It is also a natural disinfectant that can kill bacteria and viruses on glass surfaces. Plus, it is safe to use on most types of glass, including windows, mirrors, and glass tabletops. Here’s how you can use vinegar to clean glass surfaces:
1. Mix the vinegar solution: Mix an equal amount of water and distilled white vinegar in a spray bottle.
2. Spray the glass surface: Spray the solution onto the glass surface you want to clean. Make sure to cover the entire surface with the solution.
3. Let the solution sit: Let the vinegar solution sit on the glass surface for a few minutes. This will help to loosen any dirt, grime, or grease on the surface.
4. Wipe the glass surface: Use a lint-free cloth, newspaper, or a squeegee to wipe the glass surface. Start at the top of the surface and work your way down. Be sure to wipe the surface in a circular motion to avoid leaving streaks.
5. Repeat if necessary: If the glass surface is still dirty or streaky, you may need to repeat the process.
6. Rinse with water: If you are cleaning a large glass surface, you may need to rinse it with water to remove any leftover vinegar solution.
Budget-Friendly Cleaning #3:
Clean Your Showerhead with White Vinegar
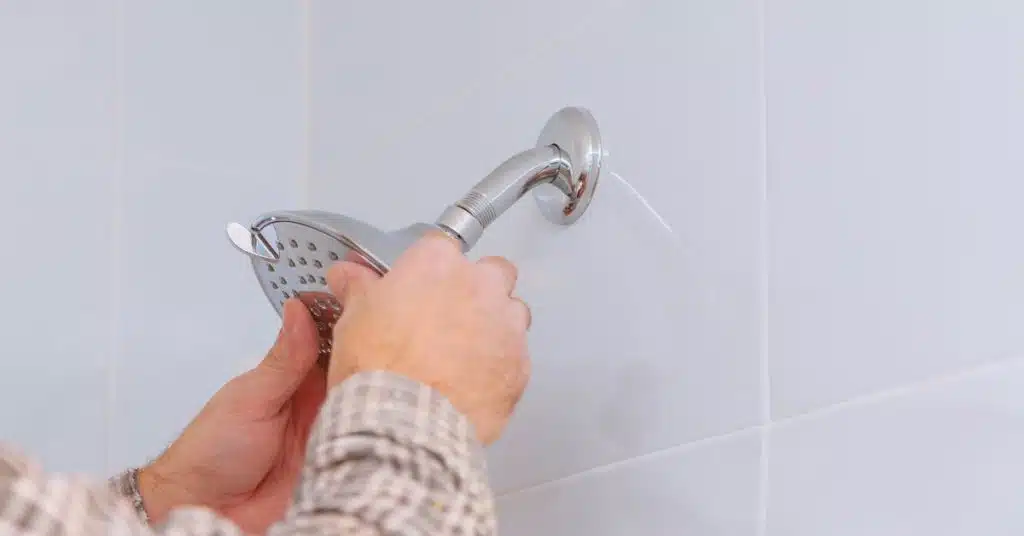
Over time, showerheads can become clogged with mineral deposits, reducing water flow and leading to a less effective showering experience. White vinegar is one way to clean your showerhead and restore its water flow. Here’s how to clean your showerhead with white vinegar:
1. Remove the showerhead: Start by removing the showerhead from the shower arm. Depending on the type of showerhead, you may need to use a wrench or pliers to unscrew it. Be sure to wrap a towel around the shower arm to prevent scratching.
2. Soak the showerhead in vinegar: Fill a large plastic bag with enough white vinegar to completely submerge the showerhead. Place the bag over the showerhead, then secure it using a rubber band or twist tie. Make sure the showerhead is fully immersed in the vinegar. Let the showerhead soak for at least an hour or overnight for tough mineral deposits.
3. Scrub the showerhead: After soaking, remove the bag of vinegar and use an old toothbrush or scrub brush to scrub the showerhead, paying special attention to the nozzle openings. This will help to loosen any remaining mineral deposits.
4. Rinse the showerhead: Rinse the showerhead thoroughly with warm water to remove any remaining vinegar and mineral deposits. Be sure to wipe down the showerhead with a clean cloth or towel to remove excess water.
5. Reattach the showerhead: Reattach it to the shower arm once it is clean and dry. Utilize a wrench or pliers to tighten it securely, but make sure not to overtighten it.
Budget-Friendly Cleaning #4:
Use Lemon Juice to Clean Stainless Steel
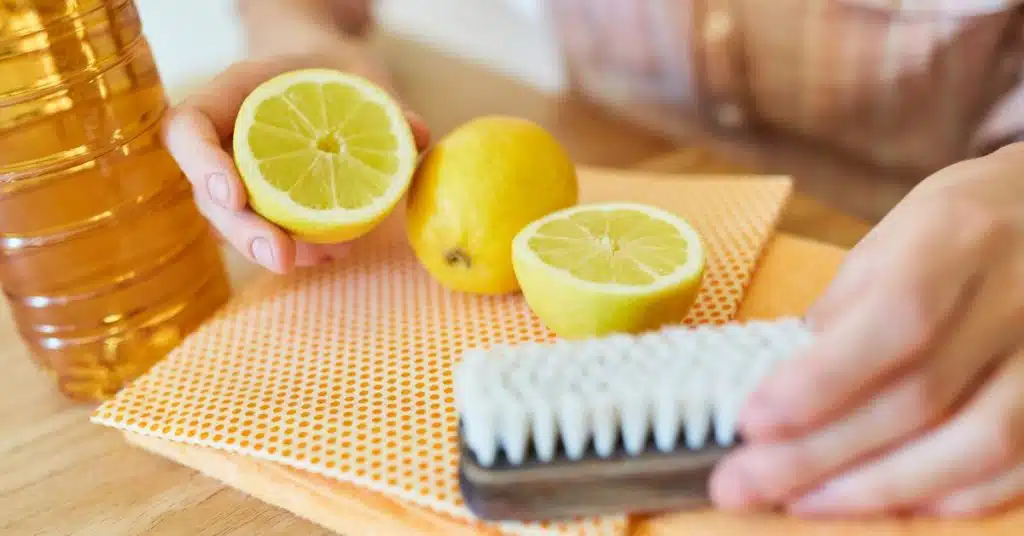
Stainless steel appliances are popular in many homes due to their sleek appearance and durability. However, they can be prone to smudges, fingerprints, and other marks, making them look less than perfect. One way to clean stainless steel and restore its shine is by using lemon juice.
Lemon juice is an effective natural cleaning agent because it contains citric acid, which can help to dissolve dirt and stains on stainless steel surfaces. It also has a pleasant scent that can leave your kitchen smelling clean and fresh. Here’s how to use lemon juice to clean stainless steel:
1. Cut a lemon in half: Cut a fresh lemon in half. You can also use bottled lemon juice if you don’t have a fresh lemon.
2. Apply the lemon juice: Squeeze the lemon juice onto a soft cloth or paper towel. Rub the lemon juice onto the stainless steel surface, covering the entire surface.
3. Let the lemon juice sit: Let the lemon juice sit on the stainless steel surface for several minutes. This will help to loosen any dirt, grime, or stains.
4. Wipe the stainless steel: Use a clean, dry cloth to wipe the lemon juice off the stainless steel surface. Be sure to wipe in the direction of the grain to avoid leaving streaks.
5. Rinse and dry: Rinse the stainless steel surface with warm water to remove any remaining lemon juice. Dry the surface thoroughly with a clean cloth to prevent water spots.
Budget-Friendly Cleaning #5:
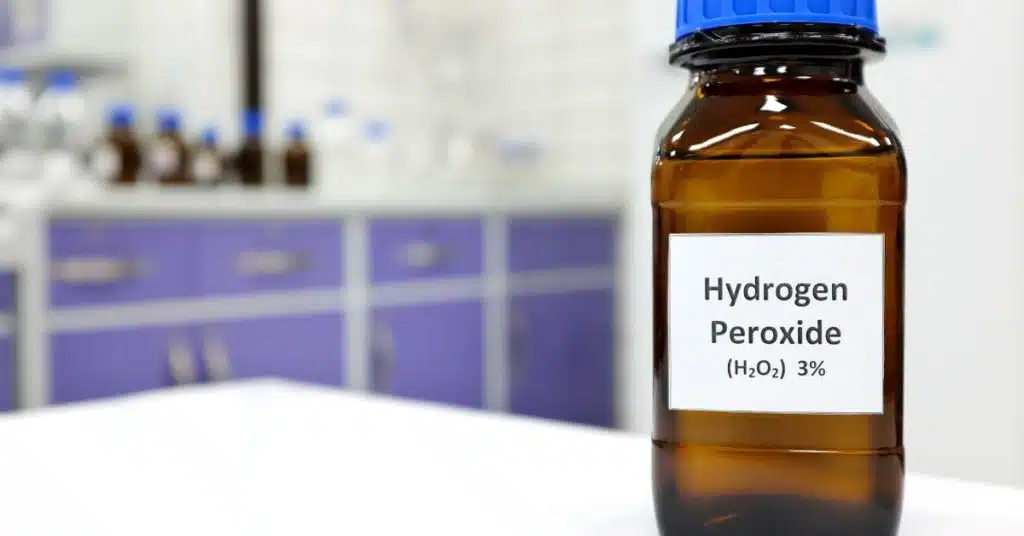
Use Hydrogen Peroxide to Remove Stains
Hydrogen peroxide is a powerful and versatile cleaning agent that can remove stains from various surfaces, including fabrics, carpets, and upholstery. It is an effective stain remover because it breaks down all the chemical bonds that hold the stain together. It also has mild bleaching properties, which can help to whiten and brighten stained surfaces.
However, hydrogen peroxide can damage certain surfaces, so testing it on a small area is important. It’s also important to use a diluted hydrogen peroxide solution for certain surfaces, such as carpets and upholstery, to avoid discoloration or damage. Here’s how to use hydrogen peroxide to get rid of stains:
1. Test a small area: Before using hydrogen peroxide on a stain, test it on a small, inconspicuous area to ensure it won’t damage or discolor the surface.
2. Apply the hydrogen peroxide: If the test area is okay, apply a small amount directly to the stain. For fabric stains, ensure the fabric is wet first, as hydrogen peroxide works better on damp surfaces.
3. Let the hydrogen peroxide sit: Let the hydrogen peroxide sit on the stain for several minutes. This will help to break down and lift the stain.
4. Blot the stain: Use a clean cloth or paper towel to blot the stain, starting from the outside and working your way in. Always remember not to rub the stain, as this can cause it to spread.
5. Repeat if necessary: If the stain is still visible, just repeat the process until the stain is completely removed. Rinse the area completely with clean water to remove any remaining hydrogen peroxide.
Budget-Friendly Cleaning #6:
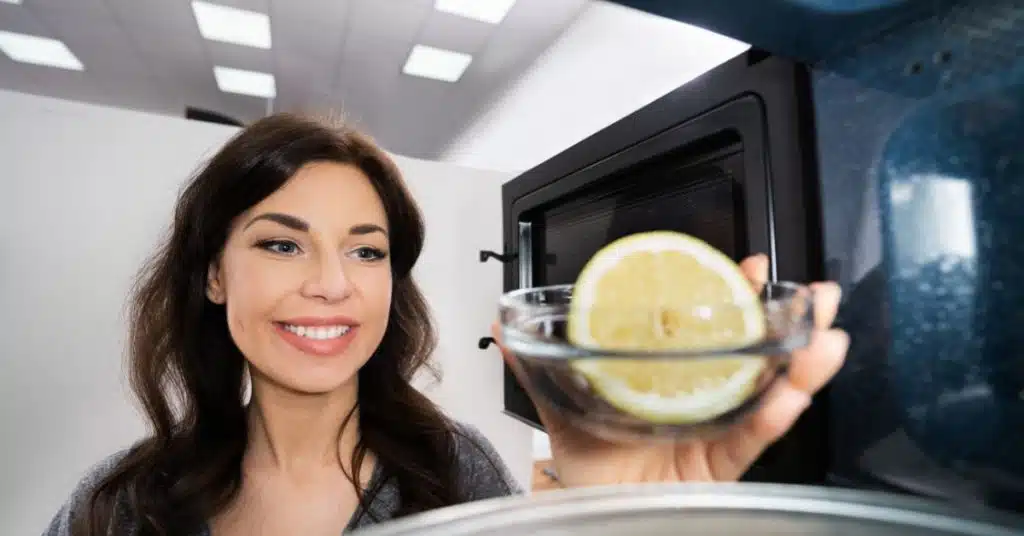
Clean Your Microwave with Water and Lemon
Microwaves are one of the most frequently used appliances in many homes, and they can quickly become dirty and stained from food splatters and spills. Water and lemon are one way to clean your microwave without harsh chemicals. The citric acid in lemon juice helps to break down grease and food stains, while the steam helps to loosen and lift them away. The result is a clean, fresh-smelling microwave without harsh chemicals. Here’s how to do it:
1. Cut a lemon in half: Cut a fresh lemon in half, then squeeze the juice into a microwave-safe bowl. Drop the lemon halves into the bowl.
2. Add water: Add about half a cup of water to the bowl with the lemon juice and halves.
3. Microwave the bowl: Place it in the microwave and microwave it on high for 3-5 minutes. The water should start to boil and create steam.
4. Let the bowl sit: Leave it in the microwave for another 5-10 minutes to allow the steam to work its magic once the microwave has finished.
5. Wipe the interior: Carefully remove the bowl from the microwave and use a clean, damp cloth or sponge to wipe the interior. The steam from the lemon and water mixture will have loosened any food splatters or stains, making them easier to wipe away.
6. Clean the exterior: Don’t forget to wipe down the microwave’s exterior with a clean, damp cloth.
Budget-Friendly Cleaning #7:
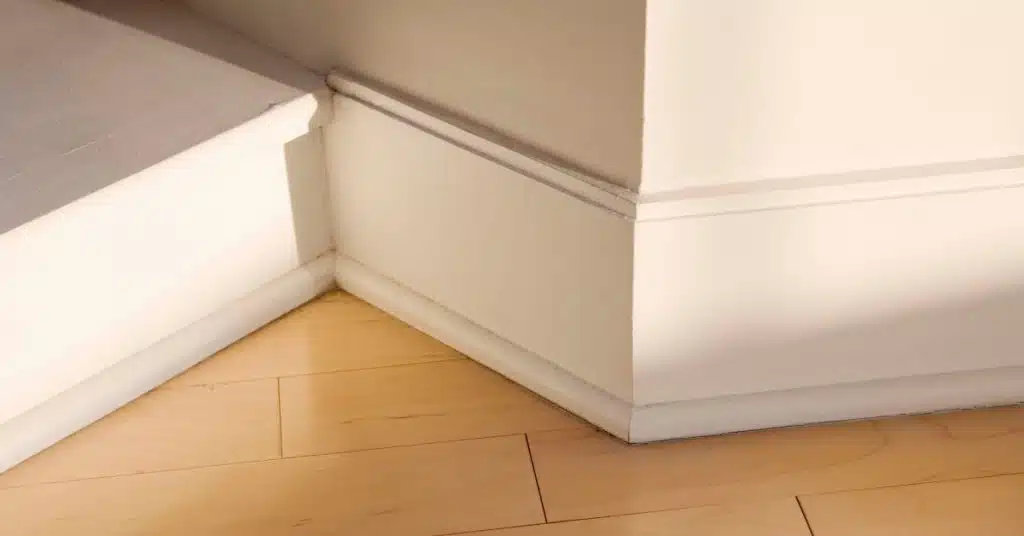
Use Dryer Sheets to Clean Baseboards
Baseboards are an often overlooked area when it comes to cleaning, but they can accumulate dust and dirt over time. Dryer sheets are one easy and effective way to clean your baseboards.
Dryer sheets contain a coating of fabric softener and other compounds that effectively attract and trap dust and dirt. This makes them a great tool for cleaning baseboards, which are prone to accumulating dust and dirt over time. Here’s how to do it:
1. Gather your supplies: You’ll need a few dryer sheets, a bucket of warm water, and a clean, damp cloth.
2. Wipe the baseboards with a dryer sheet: Take a dryer sheet and wipe it along the length of the baseboard. The sheet will pick up any dust or dirt accumulated on the surface.
3. Dip the cloth in the water: Dip a clean cloth into the bucket of warm water and wring out any excess water.
4. Wipe the baseboards with the damp cloth: Use the damp cloth to wipe along the length of the baseboard, removing any remaining dust or dirt. You may need to rinse the cloth and repeat this step a few times, depending on how dirty the baseboards are.
5. Dry the baseboards: Once you’ve cleaned the baseboards, use a dry cloth to wipe away any excess moisture and leave the surface dry.
Budget-Friendly Cleaning #8:
Use a Magic Eraser to Clean Grout
Grout, the material used to fill the spaces between tiles, can quickly become stained and discolored due to dirt, mildew, and other factors. While traditional cleaning methods like scrubbing with a brush and cleaning solution can be effective, they can also be time-consuming and labor-intensive. One easy and effective way to clean grout is by using a Magic Eraser.
Magic Erasers are made from a material called melamine foam, which is known for its ability to remove tough stains and dirt without the need for harsh chemicals. When used to clean grout, the Magic Eraser works by gently scrubbing away dirt and stains from the grout’s porous surface. Here’s how to do it:
1. Wet the Magic Eraser: Get the Magic Eraser wet with water. It’s important to use a clean, damp Magic Eraser for each section of grout.
2. Gently scrub the grout: Scrub the Magic Eraser along the grout lines using gentle pressure. The Magic Eraser will help lift dirt and stains from the grout.
3. Rinse the area: Once you’ve finished scrubbing, rinse the area with clean water to remove any remaining dirt or debris.
4. Repeat as necessary: Depending on the severity of the stains, you may need to repeat the process several times to achieve the desired level of cleanliness.

Budget-Friendly Cleaning #9:
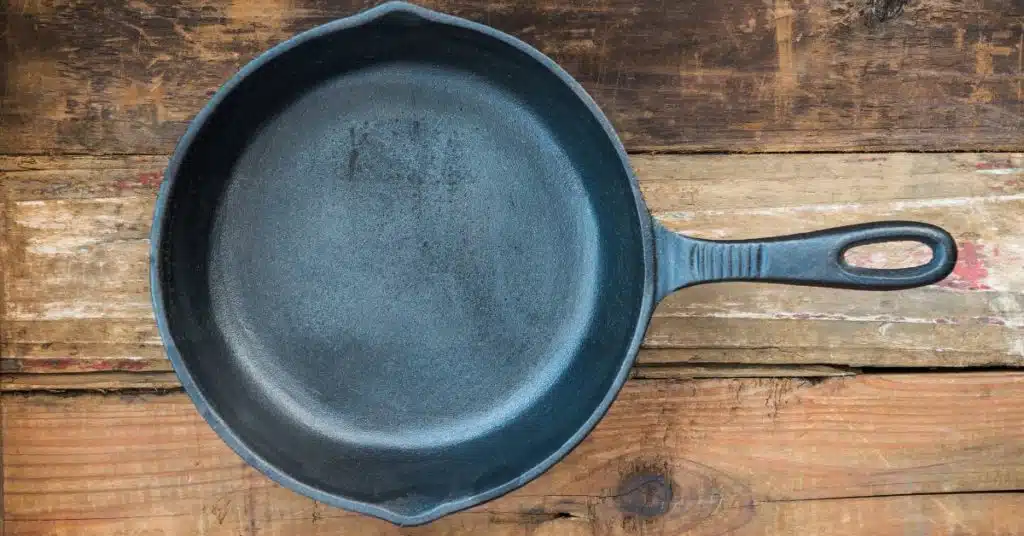
Use Salt to Clean Cast Iron Skillets
Cast iron skillets are a favorite among cooks for their durability and ability to retain heat. However, they require a bit of special care when it comes to cleaning. One easy and effective way to clean a cast iron skillet is by using salt.
Salt is an effective cleaning agent for cast iron skillets because it’s abrasive enough to remove dirt and grime but not so harsh that it will damage the skillet’s surface. Additionally, it’s a natural substance that won’t leave any harmful chemicals or residues on your cookware. Here’s how to do it:
1. Pour salt into the skillet: While the skillet is still warm (but not hot), pour a generous amount of salt into it. You want enough salt to cover the entire surface of the skillet.
2. Scrub the skillet with a cloth or brush: Scrub the salt around the skillet using a clean cloth or brush. The salt will act as an abrasive to remove any stuck-on food particles or residue.
3. Rinse the skillet: Once you’ve finished scrubbing, rinse the skillet using hot water to remove the salt and any remaining dirt or debris.
4. Dry the skillet: Use a clean cloth to dry the skillet thoroughly, making sure to remove any excess water.
5. Season the skillet: Season it with a thin layer of oil to protect it and prevent it from rusting. Rub a small amount of oil (such as vegetable or flaxseed oil) onto the skillet’s surface, making sure to coat it evenly. Then, place the skillet in a preheated oven at 350 degrees Fahrenheit for about an hour. Let it cool in the oven, and it’s ready to use again.
Budget-Friendly Cleaning #10:
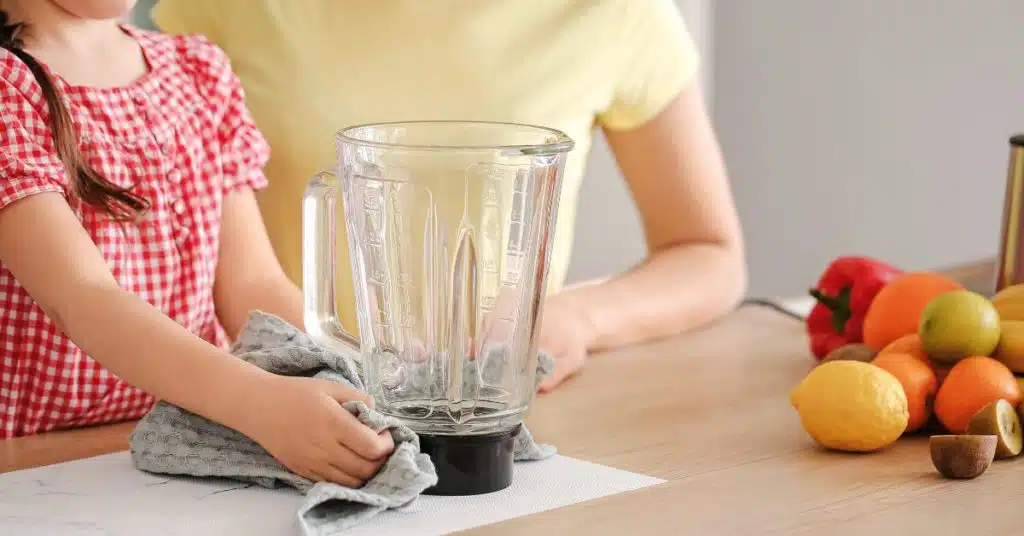
Clean Your Blender with Dish Soap and Water
Blenders are versatile kitchen appliances that make smoothies, soups, and sauces quickly and easily. However, cleaning a blender can be a hassle, especially when dealing with tough, sticky residue. Luckily, cleaning your blender with dish soap and water is an easy and effective way to get it clean. Soapy water removes dirt, grime, and food residue from your blender. Dish soap is a gentle but powerful cleaning agent that can cut through grease and stubborn stains, while warm water helps to loosen any stuck-on food particles. Here’s how to do it:
1. Disassemble the blender: Start by taking apart the blender, removing the blade, and any other detachable parts.
2. Rinse the blender: Rinse the blender with warm water to remove any leftover food particles or debris.
3. Fill the blender with soapy water: Fill the blender about halfway with warm water and add a few drops of dish soap.
4. Blend the soapy water: Put the lid on the blender and blend the soapy water for about 30 seconds to a minute. This will help to eliminate any remaining residue from the blades and the sides of the blender.
5. Rinse the blender: Once you’ve finished blending the soapy water, rinse the blender thoroughly with warm water to remove all the soap.
6. Dry the blender: Use a clean towel to thoroughly dry it and its parts before reassembling it.
Incorporate Natural Cleaners into Your Cleaning Routine
Incorporating natural cleaning hacks into your cleaning routine saves you money as well as helps protect the environment by reducing the use of harsh chemicals. By using natural cleaning products such as vinegar, baking soda, lemon juice, and hydrogen peroxide, you can easily tackle tough cleaning tasks without harming the environment or your health.
Remember that keeping a clean and organized home is essential for your well-being and can improve your overall quality of life. Not only does it make your home look and feel more inviting, but it can also reduce stress and increase productivity. So, take some time to implement these natural cleaning hacks into your routine and enjoy the benefits of a cleaner and healthier home.
Try to experiment with these natural cleaning hacks and find the ones that work best for you. Don’t be afraid to try new methods or adjust them to fit your needs. With just a little effort and creativity, you can transform your home into a clean and organized oasis.