The things that are not visible are frequently the most crucial home tasks neglected. You’ll probably be less likely to clean something regularly if you don’t often see it, such as the interior of your refrigerator drawers, the oven, or even the pantry shelves. Additionally, it seems like a bunch of labor to sit down, scrub, and rinse, so it’s simple to put it off until you cannot wait another second.
Most likely, you regularly remove the trash simply because you need to. But how frequently do you glance inside? And when did you last take steps to disinfect or clean the trash can? As a general rule, giving your garbage bin a thorough deep clean at least once per month or more regularly in the incidence of a leak or unpleasant odor is good. Take into account that just because you can’t see or smell germs doesn’t mean they’re not there.
Discover how to disinfect your garbage can in addition to cleaning it in just easy and simple steps.
Cleaning and Disinfecting a Garbage Can
Your rubbish is now outside, leaving you alone with a foul garbage can. You certainly already have most of the tools needed for the deep-clean process in your kit, so don’t worry because it won’t take as much time as you think to complete. If possible, move your trash can outside. A hose and an air-dry can help you finish this task quickly.
Tools and Supplies You’ll Need to Clean a Trash Can Effectively
It would be best to acquire the tools and supplies you’ll need to complete the garbage can cleaning operation before settling in and getting to work. Before cleaning your garbage can, ensure you have the following cleaning supplies on hand.
- Rubber gloves
- A bathtub or garden hose
- Disinfectant spray or all-purpose cleaner
- Baking soda/ Hydrogen peroxide/ Dish soap
- A long-handled sponge, microfiber cloth, or scrub brush with bristles
- Old towels or paper towels
STEP1. Empty the Trash Bin
Naturally, a deep clean requires that you should empty your bin. Even if the intense odor you’ve been searching for comes from the bag, it’s also essential to thoroughly clean the can. Pests, mold, or foul deposits on the lid may be drawn to the lingering stench.
While at it, take this opportunity to be constantly reminded to practice good waste habits. When disposing of rotten or offensive materials, empty the garbage afterward, and stay away from objects that shouldn’t have gone in the garbage in the first place.
Use rubber gloves to remove any lingering loose things from the surface of the pale once the bag has been taken outside.
STEP2. Select Your Cleaning Mixture
Here, you have the option of using a cleaning solution that is chemically or naturally based. Add a few drops of dish soap to a gallon of warm water to quickly clean your garbage can.
Consider using the following mixture with your scrub brush for glued food particles and to freshen up particularly powerful trash cans:
- Hydrogen peroxide
- Baking soda
- Dish soap
Pick out most of the EPA-approved all-purpose cleansers if you’d want to forgo DIY but still be environmentally conscientious.
STEP3. Tackle Difficult Areas
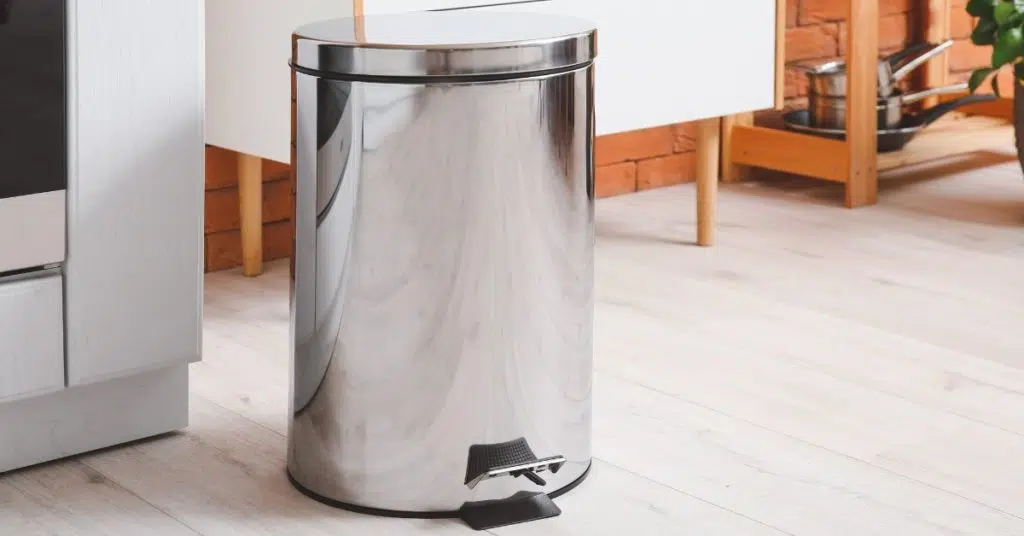
In the bottom of garbage cans, you can find anything from coffee powder to unrecognizable food scraps that slipped from the bag. Cleaning the lifting mechanism and the foot pedal is essential because garbage cans with step-activated lids frequently have more crevices and crevices than regular dumpsters.
Pre-treating caked-on regions like you would like a stained article of clothing will help you get started on your thorough clean. Spray the entire can with your homemade or store-bought solution, paying particular attention to the tough spots. Allow the can to soak for approximately 10 minutes outside, in the open air.
STEP4. Scrub and Spray
Grab out the extendable scrub brush and add one smaller amount of cleaning solution inside the trash can. Another simple option is a brand-new toilet brush. Even better, reserve it solely for the monthly trashcan cleaning.
First, scrub the interior of the can, paying particular attention to the base and the interior of the lid. Then give the garbage can’s exterior a thorough cleaning, paying particular attention to any blemishes or stains that prevent it from appearing its best.
STEP5. Wash the Entire Bin
After cleaning the can inside and out, give it a thorough hose-down. You can complete the entire operation in the shower room or bathtub if you reside in a small unit without access to the outdoors or a hose. Just remember to rinse off the cleaning spot after you’re finished.
STEP6. Don’t Think Twice to Disinfect
Consider disinfecting the garbage bin as well if you’re working on this activity at the same time as a deep cleaning session. This will not only help you avoid spreading germs around the home, but it might also eliminate unwanted odors that linger.
Cleaning doesn’t target the bacteria and dangerous viruses on your can; disinfecting does, along with the apparent grime. You will need either cleaning wipes or cleaning spray in this situation.
On stainless steel cans, avoid bleach-based products since they may discolor the surface. Additionally, never combine cleaning products that react with one another. For instance, to prevent producing a hazardous gas, do not combine vinegar and bleach when disinfecting a can that has just been cleaned with a vinegar solution.
STEP7. Dry Off the Garbage Can
We’re almost done cleaning! All that is left to do is air dry the trash bin. It is best to dry it overnight, but you can also use paper towels or a clean rag if you want to get back inside the trash bin. Even though it is time-consuming, drying is equally as important as cleaning and rinsing. Your garbage can’s base will smell musty or attract pests if there is any standing water there.
How to Maintain Trash Bin Freshness Between Cleanings
You might be able to go up to a month between cleans if you keep a close eye on your waste in the interim.
Putting a sprinkle of baking soda, some dryer sheet, and even drops of vanilla essence on a cotton pad at the bottom of your can are clever methods to keep smells out of the trash can. To prepare for your next clean, you can also clean the interior of the lid once a week.
To prevent rotting odors and moisture accumulation in your trash can, dispose of all leftovers that are compatible with your garbage disposal into the drain. You can even begin a composting bin to keep food scraps out of the regular trash and start building up rich soil for the spring.
Leave the complex tasks to the professionals if you are uncomfortable reaching the bottom of your trash can. You can hire local emergency cleaners for forthcoming holiday parties and parent visits or a local monthly house cleaning professional for routine duties.


