
Step into a world of nostalgia and elegance as you discover the timeless allure of vintage home furniture. Each piece carries a story, reflecting the craftsmanship of a bygone era and the memories of generations past. However, the wear and tear of time can dim their splendor, leaving them in need of care and restoration. Let’s delve into the art of cleaning and restoring vintage home furniture, unlock the secrets to reviving these treasured heirlooms and transform them into exquisite focal points of your living space. From assessing their condition to preserving their beauty, let us embark on a journey of preservation and rejuvenation, where the old finds new life and cherished stories are given the honor they deserve.
How to Clean and Restore Vintage Furniture
Step #1: Assess the Condition
Before diving into the restoration process, carefully assess the condition of the furniture. Look for any signs of damage, such as cracks, loose joints, or missing pieces. Understanding the extent of the restoration required will help you plan the necessary steps and gather the appropriate materials.
Step #2: Cleaning the Surface
Start the restoration process by cleaning the furniture’s surface. Dust and grime can accumulate over the years, dulling the finish and obscuring the true beauty of the piece. Begin by gently dusting the furniture with a soft, lint-free cloth or a soft-bristle brush to remove loose debris. For more stubborn dirt or buildup, use a mild soap or a specialized wood cleaner, following the manufacturer’s instructions. Never use harsh chemicals or abrasive cleaners because they can damage the wood.
Step #3: Removing Old Finish
If the vintage furniture has a worn or damaged finish, you may need to remove it entirely before proceeding with the restoration. This step is necessary to achieve a smooth and even surface for refinishing. To remove the old finish, you can use chemical strippers or sandpaper, depending on the type of finish and your personal preference. Follow the directions provided on the labels of the products and take necessary precautions, such as wearing gloves as well as working in a well-ventilated area.
Step #4: Repairing Structural Damage
Address any structural issues or damages to ensure the furniture’s stability and longevity. Loose joints can be fixed by applying wood glue and clamping the parts together until the glue dries. For larger repairs or missing pieces, consider consulting a professional furniture restorer or a skilled carpenter who can replicate or repair the damaged elements.
Step #5: Sanding and Smoothing
Once the old finish is removed, sanding becomes an important step to achieve a smooth and even surface. Start with coarse-grit sandpaper and gradually move to finer grits to remove imperfections, scratches, and stains. Sand following the direction of the wood grain to avoid creating cross-grain scratches. Be mindful not to over-sand or remove too much of the wood’s natural patina.
Step #6: Staining or Refinishing
Decide whether you want to preserve the vintage aesthetic by applying a new coat of stain or refinishing the piece entirely. Staining enhances the natural beauty of the wood while giving it a protective coating. Choose a stain color that complements the furniture’s style and your overall interior design. Apply the stain evenly with a brush or a cloth, following the manufacturer’s instructions, and allow it to dry completely before proceeding to the next step.
Step #7: Applying Finish
To protect the wood and enhance its durability, apply a clear finish coat. Options include polyurethane, varnish, or shellac. Select an appropriate finish based on your desired level of sheen and the piece’s intended use. Apply the finish in thin, even coats, allowing each layer to dry before adding the next. Sand lightly between coats to remove any imperfections or bubbles.
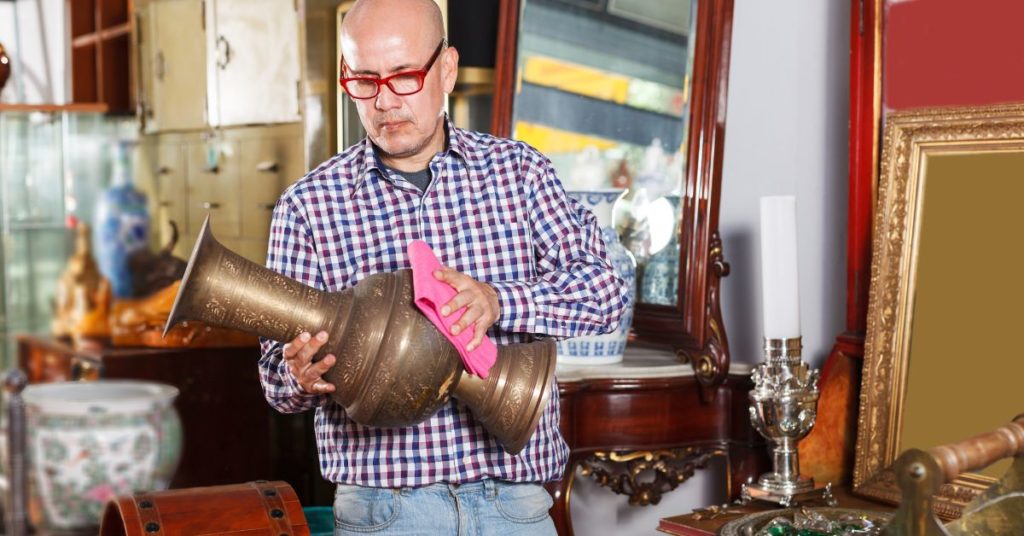
Step #8: Reassembling and Hardware
If you had to disassemble the furniture during the restoration process, now is the time to reassemble it. Ensure all the joints fit snugly and securely. Clean and polish any metal hardware or decorative accents, or consider replacing them with authentic vintage pieces to maintain the furniture’s authenticity.
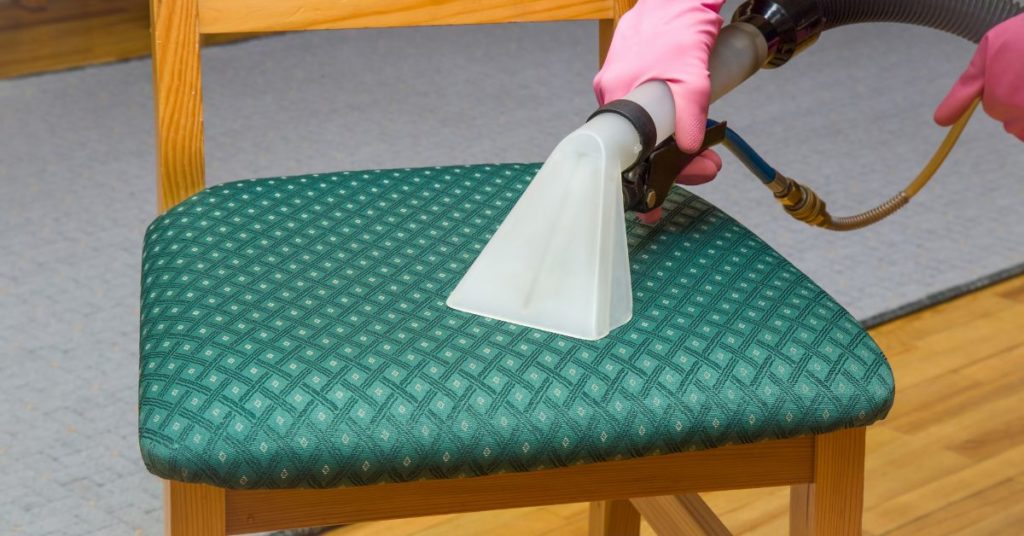
Step #9: Upholstery and Cushions
For vintage furniture with fabric upholstery or cushions, inspect them for wear or damage. If possible, remove the upholstery and replace it with new fabric, carefully selecting a design that complements the piece’s style. If the original upholstery is in good condition, you can clean it using appropriate methods and products or seek professional assistance if needed.
Step #10: Maintenance and Care
After completing the restoration, it’s essential to maintain and care for your vintage furniture properly. Do not expose the restored vintage furniture to direct sunlight or extreme temperature and humidity fluctuations. Use coasters or protective pads to prevent water rings or scratches. Regularly dust the surfaces and periodically apply furniture polish to keep the finish looking fresh.
Caring for Restored Vintage Furniture
After investing time and effort into restoring your vintage furniture, it’s crucial to take proper care to maintain its finish and preserve its beauty for years to come. Here are some important tips for caring for your restored vintage furniture:
Regular Dusting
Dust your restored vintage furniture regularly to prevent the buildup of dirt and debris. Use a soft, lint-free cloth or a feather duster to gently remove dust from the surfaces. Do not use abrasive materials or harsh cleaning products that can damage the finish.
Avoid Direct Sunlight
Protect your restored vintage furniture from prolonged exposure to direct sunlight. Ultraviolet (UV) rays can fade and damage the wood’s finish over time. Position the furniture away from windows or use curtains, blinds, or UV-protective window films to minimize sun exposure.
Use Coasters and Mats
Prevent water rings, heat damage, and scratches by using coasters, placemats, and trivets. Place them under hot dishes, glasses, and other items to create a protective barrier between the furniture and potential sources of damage.
Clean Spills Immediately
Accidents happen, and if a spill occurs on your restored vintage furniture, it’s crucial to clean it up promptly. Utilize a soft cloth or paper towel to blot the spill gently, avoiding rubbing that can spread the liquid and cause further damage. If necessary, use a mild soap solution or a specialized wood cleaner recommended for the furniture’s finish. Dry the area thoroughly to prevent moisture from seeping into the wood.
Polishing
Periodically polish your restored vintage furniture to enhance its shine and provide a protective layer. Choose a high-quality furniture polish or wax that is suitable for the furniture’s finish. Apply the polish with a soft cloth, following the product instructions. Avoid silicone-based polishes, as they can create a residue buildup over time.
Avoid Excessive Moisture
Protect your vintage furniture from excessive moisture, as it can cause warping, swelling, or mold growth. Utilize a humidifier or dehumidifier to maintain optimal humidity levels in your home, typically between 40% and 50%. Wipe up any spills or condensation immediately, and avoid placing the furniture in areas prone to high humidity, such as basements or bathrooms.
Handle with Care
Treat your restored vintage furniture with care to prevent accidental damage. Lift and move the furniture rather than dragging it across the floor, as dragging can scratch the wood or loosen joints. When handling drawers or doors, use the knobs or handles instead of pulling or pushing on the wood directly.
Professional Maintenance
Consider professional maintenance and inspections for your vintage furniture. Skilled furniture restorers can assess the condition of the piece, touch up any minor damages, and provide advice on specialized care. They can also offer recommendations for additional protective treatments or maintenance routines specific to your furniture.
Embrace the Art of Restoration
As we reach the end of our guide to cleaning and restoring vintage home furniture, we hope you feel empowered to embark on your own restoration journey. Remember, each piece holds a unique history and embodies the craftsmanship of a bygone era. By taking the time to care for and restore these treasures, we honor the legacies they carry.
Restoring vintage furniture not only enhances its beauty but also allows us to connect with the past and infuse our living spaces with character and charm. The process requires patience, attention to detail, and a genuine appreciation for the artistry of yesteryear. As you follow the steps outlined in this guide, relish in the journey of transformation, knowing that you are giving new life to these cherished pieces.
As you embark on your restoration journey, remember to approach it with respect and reverence, allowing the furniture to guide your hand and inspire your choices. Cherish the stories these pieces carry and let them become a part of your own narrative.