
When you think of germs in the home, or what and where the ‘germiest’ locations are, your mind instantly goes to the basics — restrooms, toilet seats, kitchen sinks, floors, and so on. While this is true, there are some zones that are infested with bacteria yet are generally neglected owing to their small size. The light switch, as well as the electrical covering surrounding it, is a bacteria hotspot in the home.
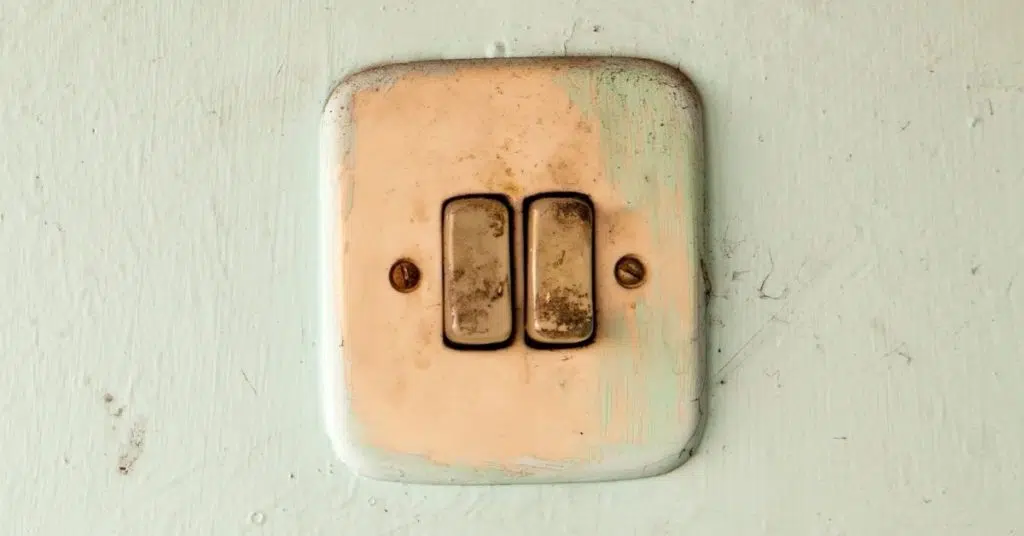
It may not be on your regular cleaning to-do list, but it should be. The switches and their cover are typically ignored as germ breeding grounds. When you think about how many times a day the common light switch is handled by a bunch of people, it’s easy to understand how light switches and outlet covers may have become one of the filthiest spots in your home or office.
It’s why it’s necessary to clean them on a regular basis, particularly around cold and flu season when spotless areas can mean the difference between avoiding sickness and wasting a week in bed. However, considering the inherent risks of working with electrical current, you must be cautious while cleaning both switch outlet covers and wall outlet covers. Fortunately, sanitizing and visually polishing the exterior of the wall plates and keeping them appearing spotless is simple. Continue reading to learn how to clean your switch and outlet covers correctly and safely to prevent germs from spreading and maintain them sparkling like new.
How often should you clean light switches?
Viruses and bacteria may persist on hard surfaces for weeks. As a corollary, you must include this cleaning chore in your daily tasks. Don’t forget about the other devices in your home when you acquire the covers!
In busier parts of your home, you must clean them up at least once per week, but ideally, it is best to wipe them more frequently.
Why cleaning the light switch is important?
First and foremost, acknowledge the need of cleaning the light switches as well as outlet covers. Consider how often you use your home’s light switches on a daily basis. You most likely have many in your house that you utilize on a daily basis. Think how many other individuals may come into touch with those switches if they reside in or visit your home. It’s simple to grasp how these switches could become a source of bacteria and germs—and perhaps one of your home’s dirtiest surfaces!
What about coverings for outlets? Although you typically don’t get into too much physical touch with them as you do with the light switches around your home, they may nevertheless become dusty and grimy with time. This is particularly true in high-traffic parts of the house, such as the kitchen. Grease, cooking oil, and other undesirable substances might be splattered into outlets installed in the kitchen (where you connect countertop equipment, for example).
You may reduce your contact with germs and bacteria that can make you sick by carefully cleaning these areas throughout your house. Meanwhile, you’ll keep your house in tip-top shape, down to the last detail.
Gather your cleaning materials
All you need to sanitize outlet covers, as well as light switches, are the basic items:
- Screwdriver
- Dishwashing liquid
- Sanitizing liquid
- Paintbrush or old toothbrush
- Scrubbing pads
- Microfiber dust cloths/paper towels
- Basin
- Clean towel
You’re ready to start cleaning now that you’ve gathered the things listed above!
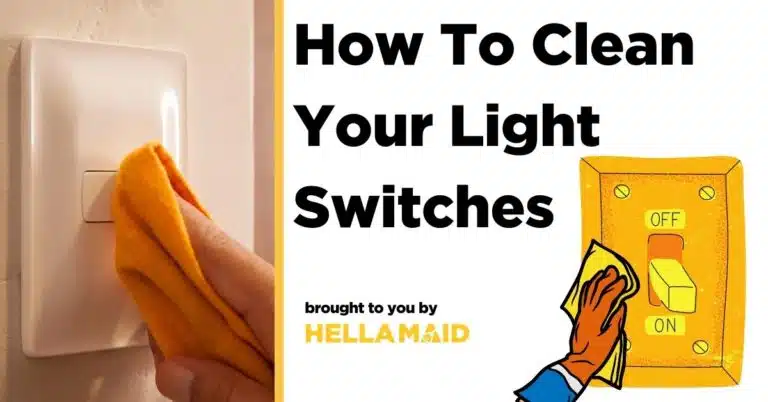
How to clean the light switch (correctly and safely)?
STEP1. Turn Off the Electricity
Safety comes first! The most crucial thing to know before disinfecting these areas is to turn off the electricity at the circuit breaker in your home. If you leave the power on when cleaning light switches and outlets, you risk electrocution, so make sure you follow this step. Double-check that power is switched off by checking a couple of light switches around your home after you’ve turned off the main breaker.
STEP2. Remote Covers and Plates
Lift the plates covering the light switches as well as outlets throughout the house using a screwdriver. This will take the longest portion of the process along with reinstalling these plates after you’re done cleaning. Taking the plates off, on the other hand, will allow you to clean all of the tiny crevices. This will also enable the thorough cleaning of the plates much simpler.
To avoid losing any screws or pieces, keep all the plates as well as screws in a dedicated place while you work. Keeping the plates and screws organized in the areas where they belong might be beneficial.
Step 3. Dust Removal
Dust collects within the electrical covering as well as on the outside through the gaps we didn’t notice. Wipe the dust around the sides of the plastic cover before scrubbing it to eliminate tenacious filth.
You’ll need to use a toothbrush or a paintbrush to remove dust from tight places and crevices at this point. Hold the component under running water and let the pressure of the flow of water rinse it clean if you are having a hard time removing dust from any tight spots.
Step 4. Soak the Coverings and Sanitize the Switches
Mix 1-2 teaspoons of dishwashing liquid into a bowl of warm water and whisk to make a soapy solution. To loosen the dirt and stains/discoloration, submerge the electrical coverings in the cleaning mixture for 10-15 minutes.
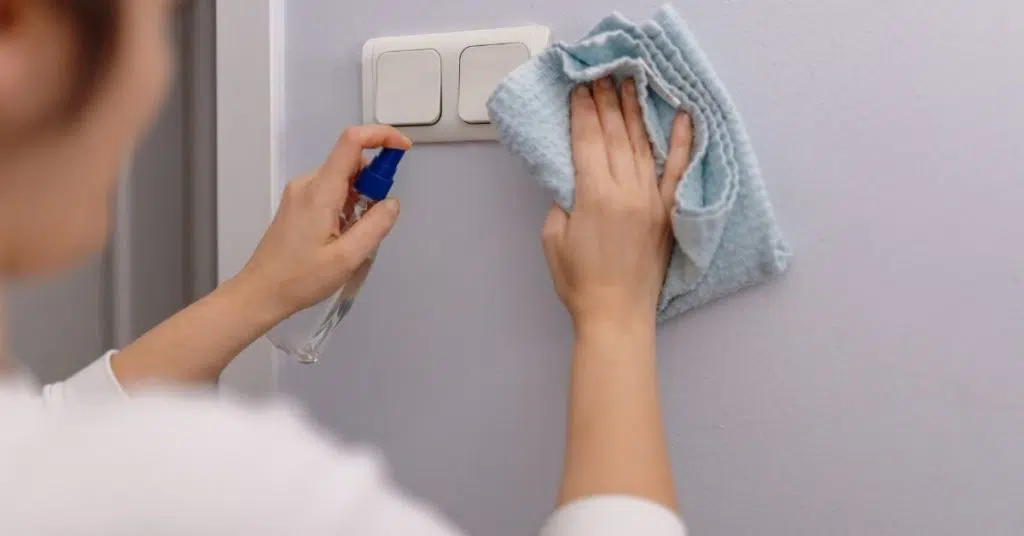
Use this time to wash and sanitize the light switches while the outlet coverings are soaking. The safest approach to do this is using a disinfectant cleaner soaked clean towel or microfiber cloth. Wrap the moist cleaning tool over your finger and carefully scrub each switch separately to clean and sanitize switches safely.
Step 5. Scrub and Dry Electrical Plates
Scrub each one separately with a gentle scrubber dipped in the cleaning mixture that your electrical covers have been soaking in. Because of the soaking time, the filth and grime should be easy to remove by now.
Rinse the outlet covers using running water after you’re pleased with the clean. Shake off any excess water before wiping each plate with a dry cloth and setting them aside to air dry and totally dry. Fit the electrical covers over their appropriate outlets and screw them on firmly only when you’re confident they’re dry and clear of moisture.
Step 6. Turn On the Power
Turning the power back on is the final step you need to do now that the process is over! Also, sanitize your light switches as well as electrical covers frequently, if not daily, to maintain these often-overlooked surfaces clean and hygienic and to prevent the spread of harmful infections in your home.